By using our website, you accept our use of cookies in accordance with our Cookies Policy.


Are you interested in building your own camera drone? Creating a DIY camera drone can be a rewarding and cost-effective way to have a customized aerial photography setup. Here's a step-by-step guide to help you get started.
.
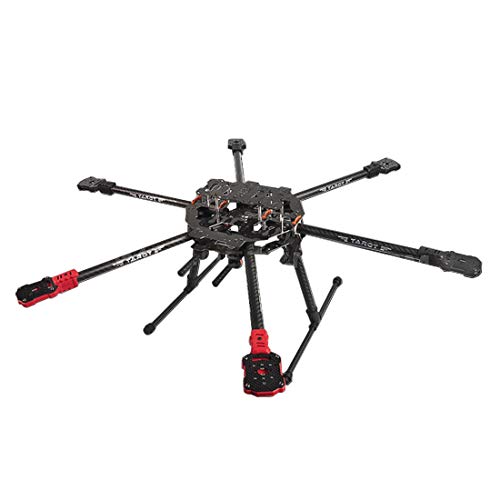
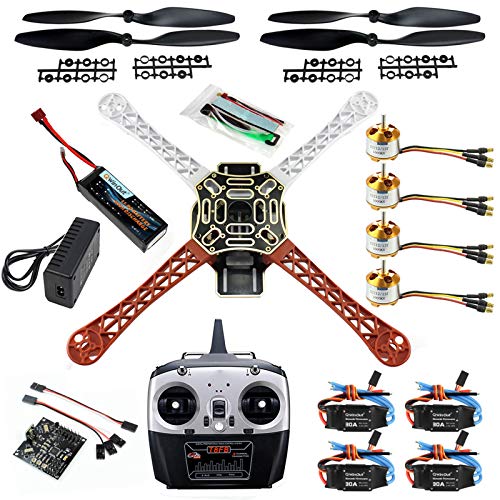
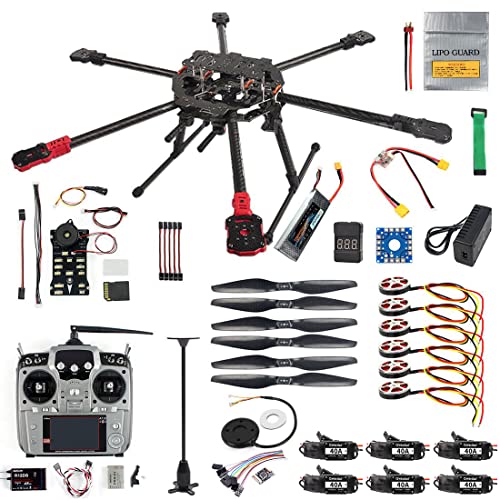
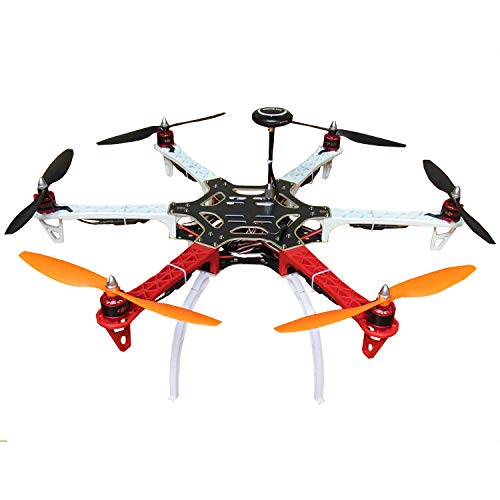
1. Frame: Select a frame that can support the weight of your camera and provide stability during flight.
.
2. Motors: Choose motors that match the size and weight of your drone.
.
3. Propellers: Ensure the propellers are compatible with your chosen motors.
.
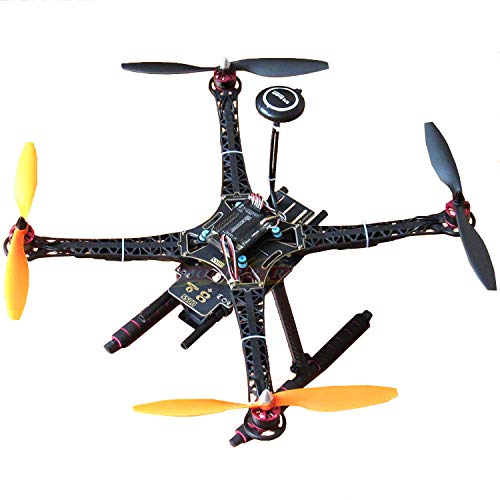
4. Flight Controller: A flight controller is the brain of your drone, responsible for stability and flight control.
.
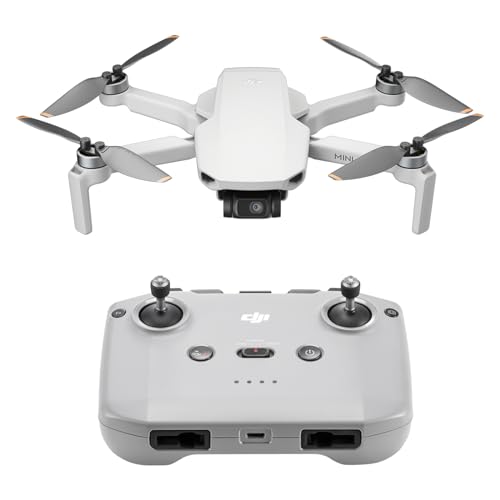
5. Camera: Select a high-quality camera that fits your budget and filming needs.
.
1. Frame Assembly: Start by assembling the frame according to the manufacturer's instructions.
.
2. Motor and Propeller Installation: Attach the motors and propellers to the frame as per the diagrams provided.
.
3. Flight Controller Setup: Connect the flight controller to the frame and calibrate it following the manual.
.
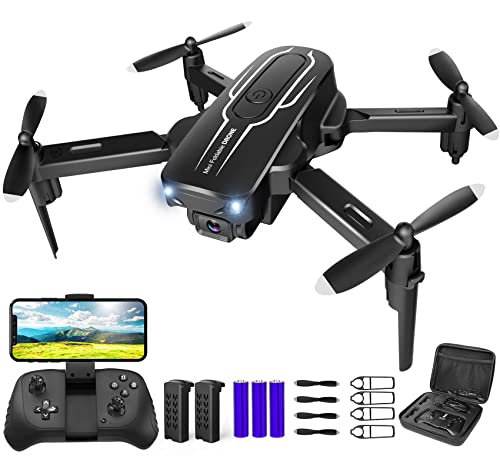
4. Camera Mounting: Mount your camera securely on the drone frame, ensuring it is balanced.
.
1. Pre-flight Checks: Before flying, perform a thorough check of all components and connections.
.
2. Test Flight: Conduct a test flight in a safe and open area to ensure everything is functioning correctly.
.
3. Camera Calibration: Calibrate your camera settings for optimal aerial photography.
.
4. Enjoy Aerial Photography: Once everything is set up and tested, capture stunning aerial photos and videos with your DIY camera drone!