Building your own drone can be a rewarding and educational experience for any drone enthusiast. Whether you're a beginner or an experienced hobbyist, constructing your drone from scratch allows you to customize it to fit your needs and preferences.
1. Planning Your DIY Drone Build
Before you start building your drone, it's crucial to plan out the project thoroughly. Decide on the type of drone you want to build, whether it's a racing drone, a photography drone, or a simple FPV drone.
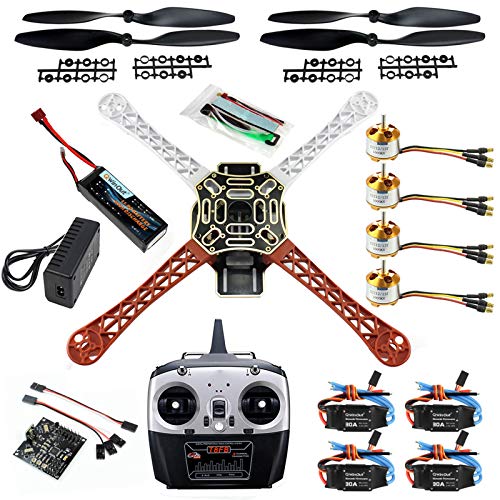
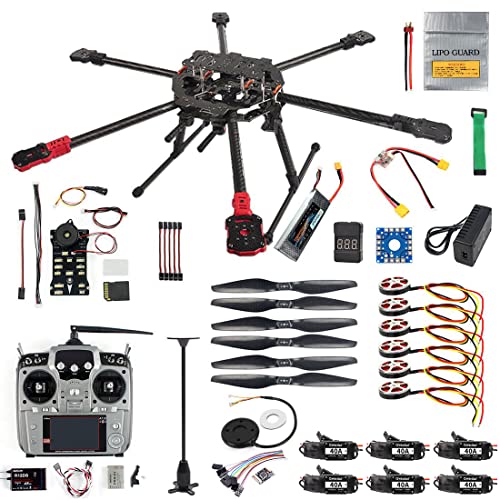
Research the components you'll need for your build, such as motors, propellers, flight controllers, ESCs, and batteries. Ensure that the parts you select are compatible with each other.
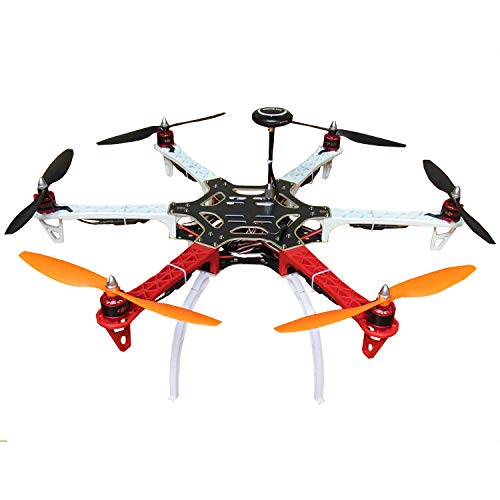
2. Assembling the Drone Frame
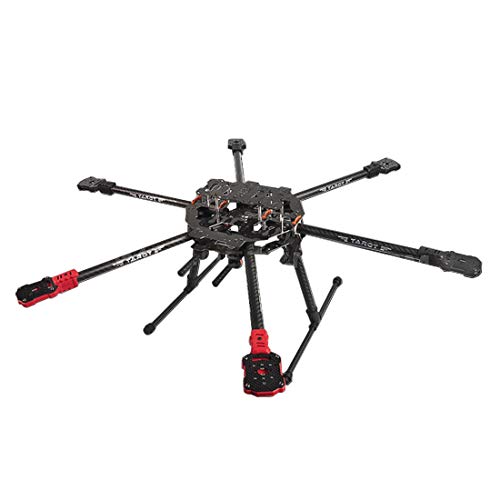
The first step in building your DIY drone is assembling the frame. Choose a frame that suits your drone's purpose and size requirements. Common materials for frames include carbon fiber, aluminum, and plastic.
Follow the manufacturer's instructions to put together the frame, ensuring that everything is aligned correctly and securely fastened. This step forms the foundation of your drone build.
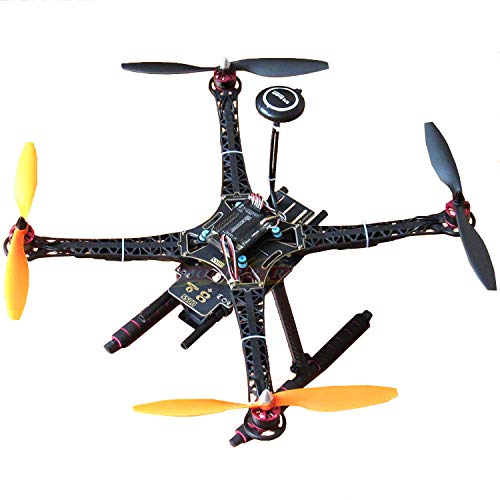
3. Installing Electronics and Components
Once the frame is assembled, it's time to install the electronics and components that will make your drone fly. This includes the flight controller, motors, ESCs, propellers, and any additional hardware like a camera or GPS module.
Take care to follow wiring diagrams and instructions provided by the components' manufacturers. Proper installation is critical for the drone's performance and safety.
4. Testing and Calibration
Before taking your DIY drone for its maiden flight, it's essential to test and calibrate all components. Check the motor direction, propeller rotation, and flight controller settings to ensure everything is functioning correctly.
Perform a hover test in a controlled environment to assess stability and responsiveness. Make any necessary adjustments to optimize your drone's performance.
5. Flying Your DIY Drone
Once you've completed the build and testing phases, it's time to take your DIY drone for a flight. Start in an open area away from obstacles and people, and gradually increase altitude and maneuverability as you gain confidence in your drone's capabilities.
Practice flying your drone regularly to improve your piloting skills and enjoy the fruits of your DIY labor.
Remember, building a DIY drone requires patience, attention to detail, and a willingness to learn. Enjoy the process and the unique satisfaction of taking to the skies with a drone you built yourself!
Remember that this is informative content from our
Wiki. If you're looking for opinions and experiences from other users, you can visit our
Community. On the other hand, if you're interested in Drones, Accessories, Offers, and Discounts, we recommend you to check out our
Ranking. This article is purely informative and has been generated
thanks to the collaboration between Artificial Intelligence and the active supervision of our team, which is responsible for correcting, structuring, and complementing its content. Although we strive to provide accurate and up-to-date information, errors or omissions may occur. We are not responsible for any decision or action taken as a result of reading this article.
...See more